Header Home About Me Shop Freebies Contact FB IG Pinterest TPT Bloglovin email
Showing posts with label writing. Show all posts

Sunday, November 27, 2016

Using Elf on the Shelf in the Classroom

For the past five years or so, I've brought the Elf on the Shelf into my classroom each December. My students absolutely love it each year and it brings a little holiday magic into our room! They love looking for the elf each morning and it's a great behavior incentive as well. They never want the elf to  see them doing anything "naughty"! But here's the thing - it may seem like a big chore to implement a few elf activities into your day, but it doesn't have to be anything time consuming for you unless you choose to do it that way!

On the first day the elf arrives at our classroom, I usually wrap the box up and cover it with super gaudy, sparkly bows and ribbons. I then put it somewhere in the classroom and don't say anything about it until someone notices! I then, of course, act completely surprised that there is even a gift in our classroom.


We open it, the students are excited (understatement of the year), and then we read the book. After reading, we brainstorm potential names for our elf and vote on them to choose.


The winner last year was Snowflake! Every year, my students end up picking a different name. Sometimes the name doesn't even have anything to do with Christmas or winter, as evidenced by the list pictured above.

I don't usually do anything too huge in regards to the elf. I move him every day so the kids can find him.


He can also be a little bit mischievous... going on joyrides while we're not at school!


And sometimes he brings us special treats... like candy canes!


Then we have a mini-candy cane day! We observe them and describe them using our 5 senses and create a web of all the adjectives we came up with.


Using an elf in the classroom is also a great opportunity for students to write in a variety of ways. My students always love to write their own notes and letters to our elf telling him their Christmas lists, how much they love him, and any other little sweet things they want to "tell" him.


One of my favorite writing activities to do with my students is a persuasive writing project. Students write a letter to their elf to try and convince him to tell Santa why they've been good this year. 


The stuff they come up with is always so funny! They come up with reasons you wouldn't even think of as to how they've been nice all year. If your students need help coming up with ideas, you can create a group thinking map together to brainstorm ways they've been kind to others, followed directions, or worked hard all year.


After they write their letter, they create a craftivity of our elf and pair it next to the letter. They always turn out absolutely adorable.


You can find the elf in the classroom persuasive writing activity by clicking on the picture below! It has differentiated writing paper options for you to choose from to best fit your students' needs.


Once Christmas break begins, our elf returns back to the North Pole. Sometimes I like to get a gift from the "elf" for the kids to find when we return back to school in January. In years past, I've gotten supplies for our kitchen/home living center, a holiday book, or a stuffed animal like the Grinch. The kids are always sad to see our elf go, but finding a special gift from him is a great way for them to say goodbye. Having an elf in the classroom can be such a special, magical experience for your students!

Sunday, January 3, 2016

Teaching Story Elements with Kevin Henkes Books

I just love Kevin Henkes' books. Every. Single. One of them. Not only are they creative stories, but they also have great life lessons to teach my students as well. Another reason I love his books is they have the most incredible characters; and they really lend themselves as great resources to use while teaching story elements and reading comprehension!

A class favorite that I always read every year is Lilly's Purple Plastic Purse. It's a great story, especially for the beginning of the year when you are introducing rules and procedures in the classroom!


In this book, Lilly brings all sorts of fun little trinkets to school and she is excited to share them with the class - a little TOO excited. She interrupts the teacher multiple times until, finally, the teacher takes her prized possessions away and she gets just a little upset. Various shenanigans occur throughout the story until she finally realizes that she shouldn't have acted the way she did. The book is great for a character study on the main character, Lilly, because she changes so often throughout the story and goes through a myriad of emotions. So I used the book for a little study on identifying character traits and describing how the main character changed throughout the story from beginning to end. We created a little anchor chart together and these are all of the words my students came up with to describe Lilly - they did a great job!


You can see from the web words how much the main character changed throughout the story and it was a great discussion to have with my kids to help them understand how to describe her!

The next day, we read the story again and my focus was to have them work on retelling the story by sequencing events. We used the picture retelling cards from the wonderful Guiding Readers K-1 pack by Deanna Jump and Deedee Wills. I put my students into small groups and gave them each a set of retelling cards. They then had to work together with their groups to try and retell the story by putting their pictures in order from beginning to end. It was awesome for me to walk around and hear them all collaborating together on why a certain picture should be moved; or put in this spot; and why, etc. It really helped them think more deeply about the events of the book.


After they put their pictures in order, we came back together as a class and I put the pictures in the correct order so they could check their work. They were SO excited when they got a picture in the correct sequence! Having my students talk with each other and use visuals to retell the story really helped them have a more in depth understanding of what happened in the book, rather than just hearing me stand up there and talk about it as they listened.

Once we finished our group work, my students then got a smaller version of the retell pictures and had to sequence the pictures again on their own. This was a great check for understanding for me on who really understood the sequence of events and what little friends still needed a bit of support on it!
(The small retell pictures are also from the ladies' Guiding Readers pack)!


On the third day, we read the story again, this time by listening to this version on Youtube, just to change it up a little bit so that it didn't get too stale for them:


I liked this version because it is read by a teacher and she stops and asks little comprehension questions here and there! After hearing the story, we focused on story elements: characters, setting, plot, problem, and solution. Mind you, even though our activity on the third day focused on story elements, we had been talking about story elements and learning about them long before this day, so they had a little background knowledge. To make it fun, we made a little book in the shape of a purse: Lilly's Purple Plastic Purse Story Elements! The kids did SUCH an awesome job writing and illustrating these details about the story. They absolutely loved that they had their own little plastic purse at the end, too! It was the perfect culminating activity for this story.


Another Kevin Henkes book that I love reading to my students is Kitten's First Full Moon. It's a simple book, but a great beginning book for teaching students how to retell and summarize a story.


First, I read the story aloud and, as we go through the story, I'll stop periodically and ask my students what the kitten did using order words such as first, next, then, after that... this helps them recall the order that events occurred in the story because they've got that vocabulary to guide them. After discussing the main events in the story, I modeled how to summarize the story in their own words. I told my kids excitedly that they would get to tell the story with the words that THEY wanted, as if they were going to be the author. They were so into it! I whipped up this little writing craftivity to put with their summaries and they turned out so great! In the story, the kitten sees the moon and is attempting to get to it because he thinks it is a bowl of milk. In the craftivity, he is peeking over the edge to try and get to the moon, which is popping off the page 3D style!


Here are some student samples of the Kitten's First Full Moon story summary craftivity:


If you're interested in adding this story summary/reading comprehension craftivity to your Kevin Henkes' study, you can grab it from my TPT store by clicking the picture below! There are multiple differentiated writing template options available in the pack to help you best fit the needs of your students!

 photo Kitten Full Moon_zpsde9wmaps.png

I could go on and on about all of his books... they are all wonderful options for teaching story elements and reading comprehension skills! What are some of your favorite Kevin Henkes books?

Thursday, January 29, 2015

Sight Words Galore! Navigating Our Way Through a Lengthy List

My blog has been a bit dusty and cobwebby since the beginning of December, hasn't it? Life during the holidays always gets crazy and my poor blog has been neglected... till now!

The start of December brought some new challenges for my students trying to master all of their sight words. This is when our reading curriculum begins introducing 6 new sight words a week. They were doing wonderfully with their sight word fluency when there were only 1-2 words per week; as we could really dive in and do a lot of different activities focusing on those couple of words. But I have to say, 6 sight words a week is a lot for kindergarten students to master all at once - especially when many of the words are some of the more difficult sight words to read. By the time we finish introducing the six new words, finding time to only dive in with specific activities for a couple of the words before week's end, there is a whole new group of words to introduce and teach the following Monday. It's easy for past words to get lost in the shuffle when you are busy trying to learn all new ones.

To help combat the massive sight word list, my kindergarten team began sending sight word flash cards home - a new set every Monday - with the hopes that parents would help supplement and support their reading at home. I'm happy to say, the majority of families seem to have jumped on board. To help with accountability, we added a box to our daily responsibility sheet for the parents to check off if they practiced their sight words at home each night.

We have noticed such a big difference in sight word reading fluency from this year to last just by implementing this simple change. The great thing is, the kids love showing their families all the words they know how to read, so it doesn't feel like extra work to them at all!

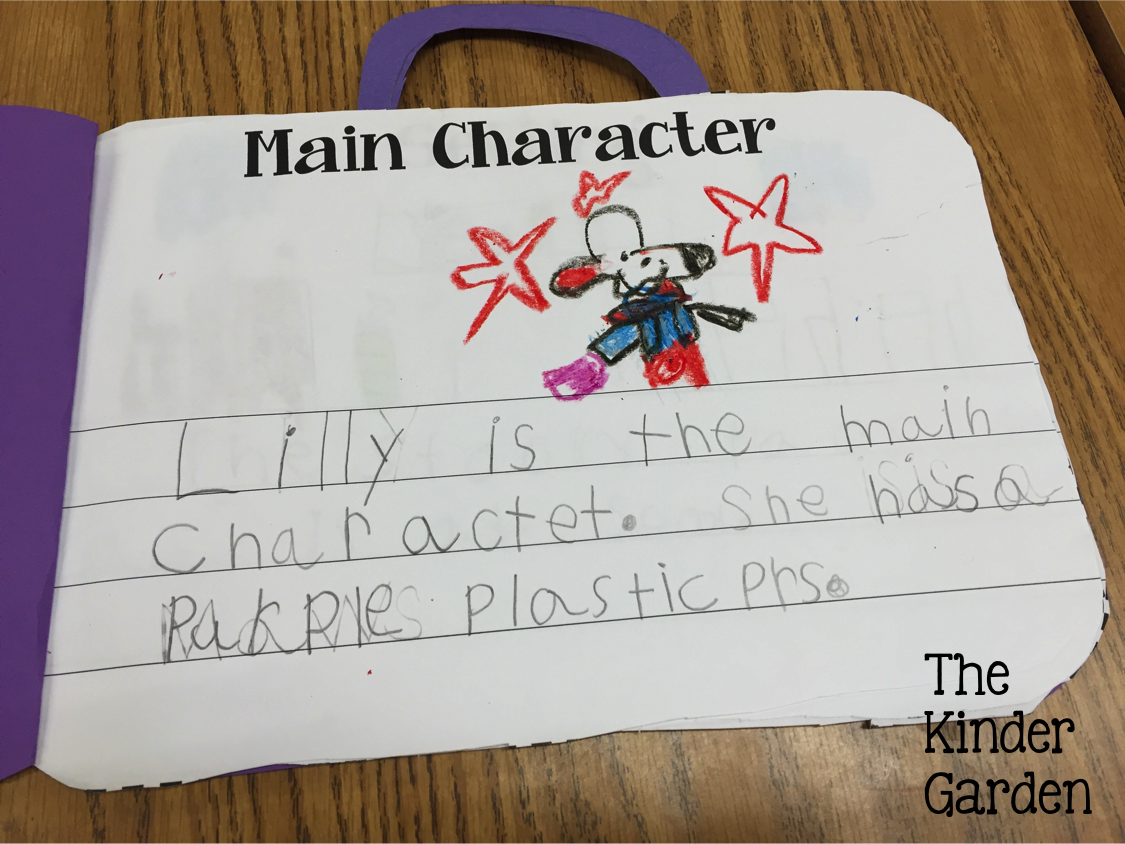
Whether or not you have to teach your kids 1, 2, or 10 sight words a week, there are a lot of quick and easy ways to provide engaging instruction to help your little learners practice and learn these words. One thing I absolutely love to get my students involved with is shared writing. It is SUCH an important strategy for beginning readers and writers. By "sharing the pen", it gives your students practice in writing, spelling, sentence building concepts such as spaces and punctuation, and more. I've also noticed that it gives them tons of confidence! While doing a shared writing activity with my students earlier in the week, I had just introduced their 6 new words for the week and asked them to come up with sentences using our new words. The picture below shows our very first day of creating sentences using our brand new words, and they totally blew me away! They came up with sentences that made sense and used the words correctly. I wrote all of our new words at the top of my board as a sort of word bank. Then, each time we used one of the words in a sentence, we crossed it out to remind us that we had already used it. If a word the student used was a sight word we had learned during the year, I simply wrote a blank line. If I came to a word that was not a sight word, I wrote it out myself (kind, train, going, etc.). I then pulled popsicle sticks with students' names on them and they came up to the board and filled in the blanks with the sight words. This activity took us all of 10 minutes during carpet time, with no prep involved whatsoever!


I love using whiteboards for sight word activities. It keeps the students engaged and requires every student to participate in reading and writing the words. Sometimes I'll call the entire class up for a chance to write on my "big white board" (which they freak out about, by the way):


But my favorite go to resource during whole group instruction is individual whiteboards. The possibilities are endless as to ways you can have your students practice writing their words or using them in a sentence. Here are a few quick and fun activities that you can implement in your classroom:

1. Window Notes


Your students can create their own graphic organizers to practice multiple sight words at once. Have them draw two crossed lines to create four windows. Then, call out one word at a time for your students to write. They write the word in the first window note, then practice spelling and reading the word aloud. Then, have them turn to a neighbor and read the word to them. Continue with 3 more new words until the window notes have been filled.

2. "Your Turn, My Turn"


I created the game "Your Turn, My Turn" off the top of my head one day when I needed something more engaging for my class to do on a particularly wiggly day for them. On a side note, do you ever notice that some of the best lesson plans and teaching moments come totally on the fly? I know it can't just be me! Sometimes the best laid plans just don't work out and you need to switch it up a bit. I'm grateful for that happening on this day, because my students absolutely loved playing it so much that they didn't even realize they were doing some great learning!

Here's how to play: Have students get into groups of two, each one with an individual whiteboard. Give each student a different sight word and have them write it on their board. Assign each student in the groups to be either partner #1 or partner #2. Partner #1 will hold up their whiteboard to their partner, then each partner will take turns saying a letter from the word. Example: For the word "many", Partner #1 says "m", then Partner #2 says "a", then Partner #1 says "n", then Partner #2 says "y". This is where the "Your Turn, My Turn" title comes into it! After a partner has said the last letter in the word, then they both read the entire word together. "Many!" They continued this game back and forth with various sight words we had learned.

After we played a few partner rounds, I had every student stand with their word board around the carpet; then took turns having each student hold their board in the air. Whichever word was in the air, that's the one they had to read out loud. 


3. Create-a-Sentence

Give your students a sight word and have them write it in the corner of their whiteboard. Then, have them create or copy a sentence using the word, making sure to emphasize using capital letters, finger spaces, and a period at the end. Challenge them to underline the sight word they used to make sure they didn't forget it. After they write it, students can use pointers to track print and read their sentence aloud to practice fluency.

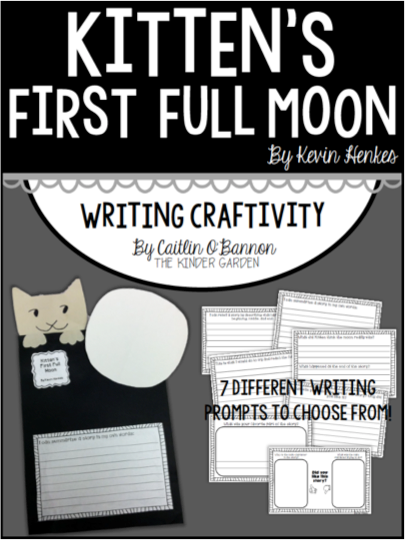
Besides whiteboards, there are other fun ways to get your kids to practice reading and writing their words all throughout the year. You can use interactive notebook activities, such as these super simple print-and-go words:


Or make a fun monthly themed center activity, like a Sight Word Pumpkin Patch (my teammate's marvelous idea):


Or use wearable sight words, such as these Sight Word Watches from The Moffatt Girls!


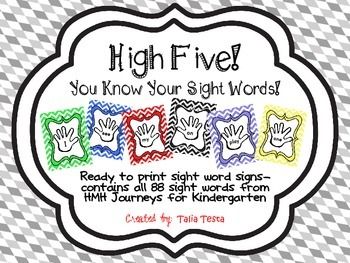
We also started having our students do "High Five Sight Words" before they are allowed to enter or exit our classrooms. They have to high five the handprint and read the word aloud or they have to go back to the end of the line and try again! This has helped them so much! We change out the words every week!


My good friend and kinder teammate, Talia, has an entire set pre-made in her TPT store! Just print, slap up outside your door, and boom! Easy sight word assessment/practice for your little guys. Check it out in her TPT store by clicking on the picture below; and give her a follow while you're there to support her new shop!

 photo highfivecover_zpsacce9407.jpg


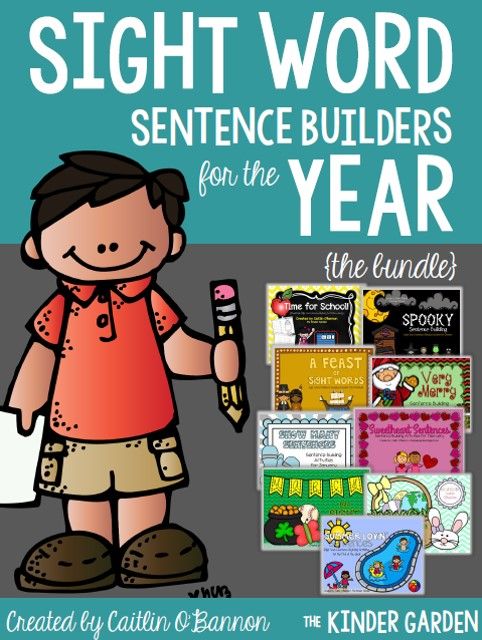
With the introduction of a new reading curriculum, HM Journeys, last year was the first year we had to teach so many sight words to our students. I was struggling to find any resources that went with the words we needed, so I decided to create my own. Thus, my Sight Word Sentence Builders monthly packs were born! Using the packs, my students got meaningful independent practice with building mixed-up sentences:

This set can be found in my Spooky Sentence Building FREEBIE - try it out here!


Each mixed-up sentence set comes with a recording sheet for your students to write the sentences they create, such as these:


Each pack comes with 3-4 different sets of mixed-up sentences to build - perfect for using during an entire month! There are also sets of predictable sentence activities:


As well as a Read It! Write It! Build It! Draw It! activity page for EVERY sentence used in the monthly pack! This has over 20 different versions in every set!


These activities have helped my kiddos SO much with sight words, tracking print, building sentences, sentence structure, and reading fluency. They love completing these activities during centers! They always cheer when I tell them we are doing another set for a center - that's always a good sign! Haha! Underneath each picture, I included a link to my TPT store to go directly to each product, if you think these are activities that will work well in your classroom. If you like what you see, you might want to think about grabbing the entire year long BUNDLE! It's an $8.00 savings over buying each pack separately - it's like getting an entire pack for free... plus 2 bonus dollars! Can't beat that! Click on the picture below to check it out - you'll find links to each separate monthly pack on this page as well to see all of the previews in greater detail!

 photo BundleCoverPicture_zps1b1e181b.jpg

I hope you were able to take away some easy, fun, engaging ideas that you can implement in your classrooms right away!